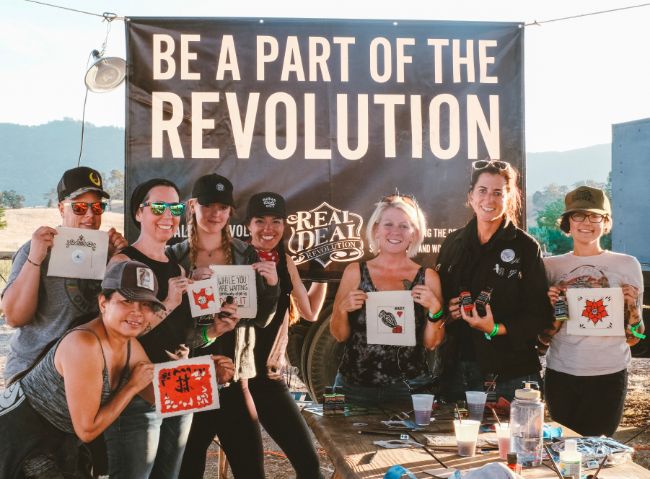
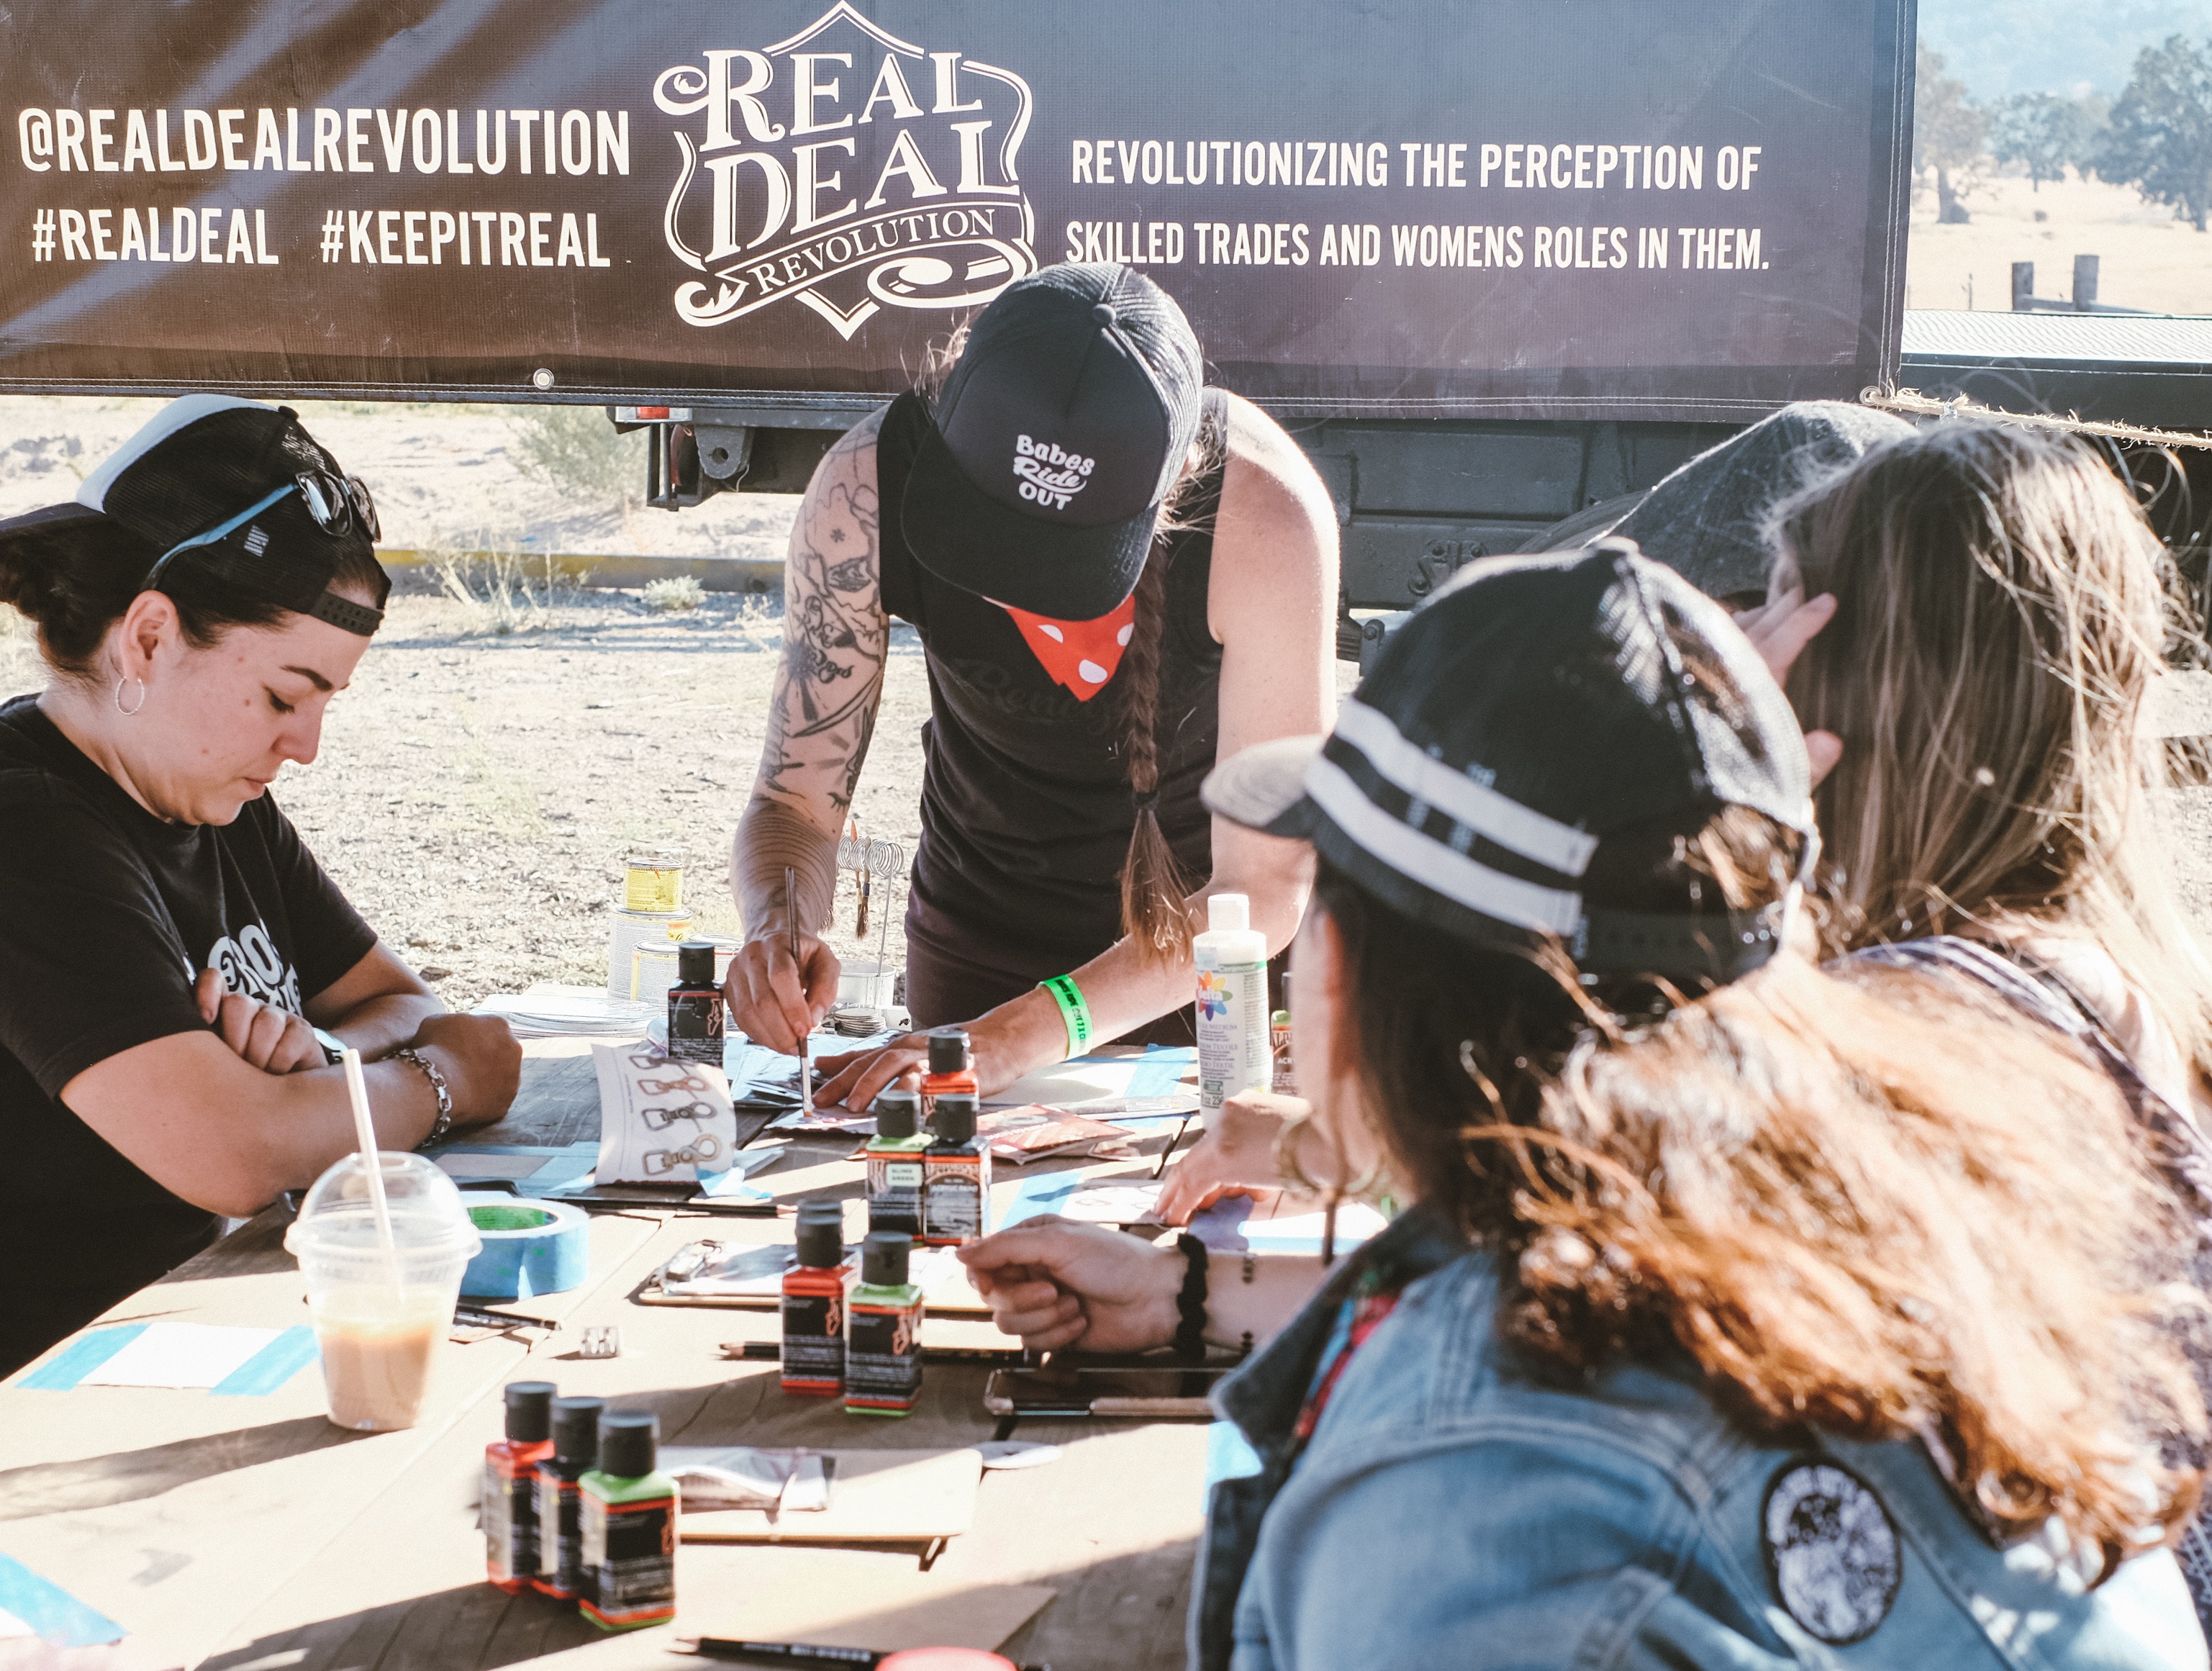
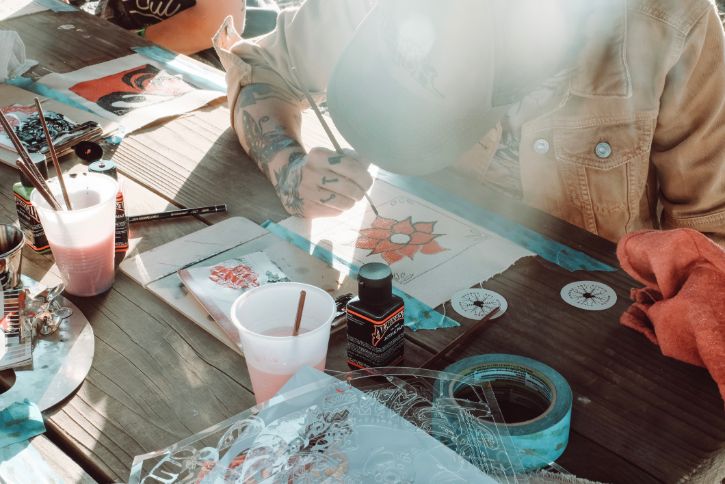
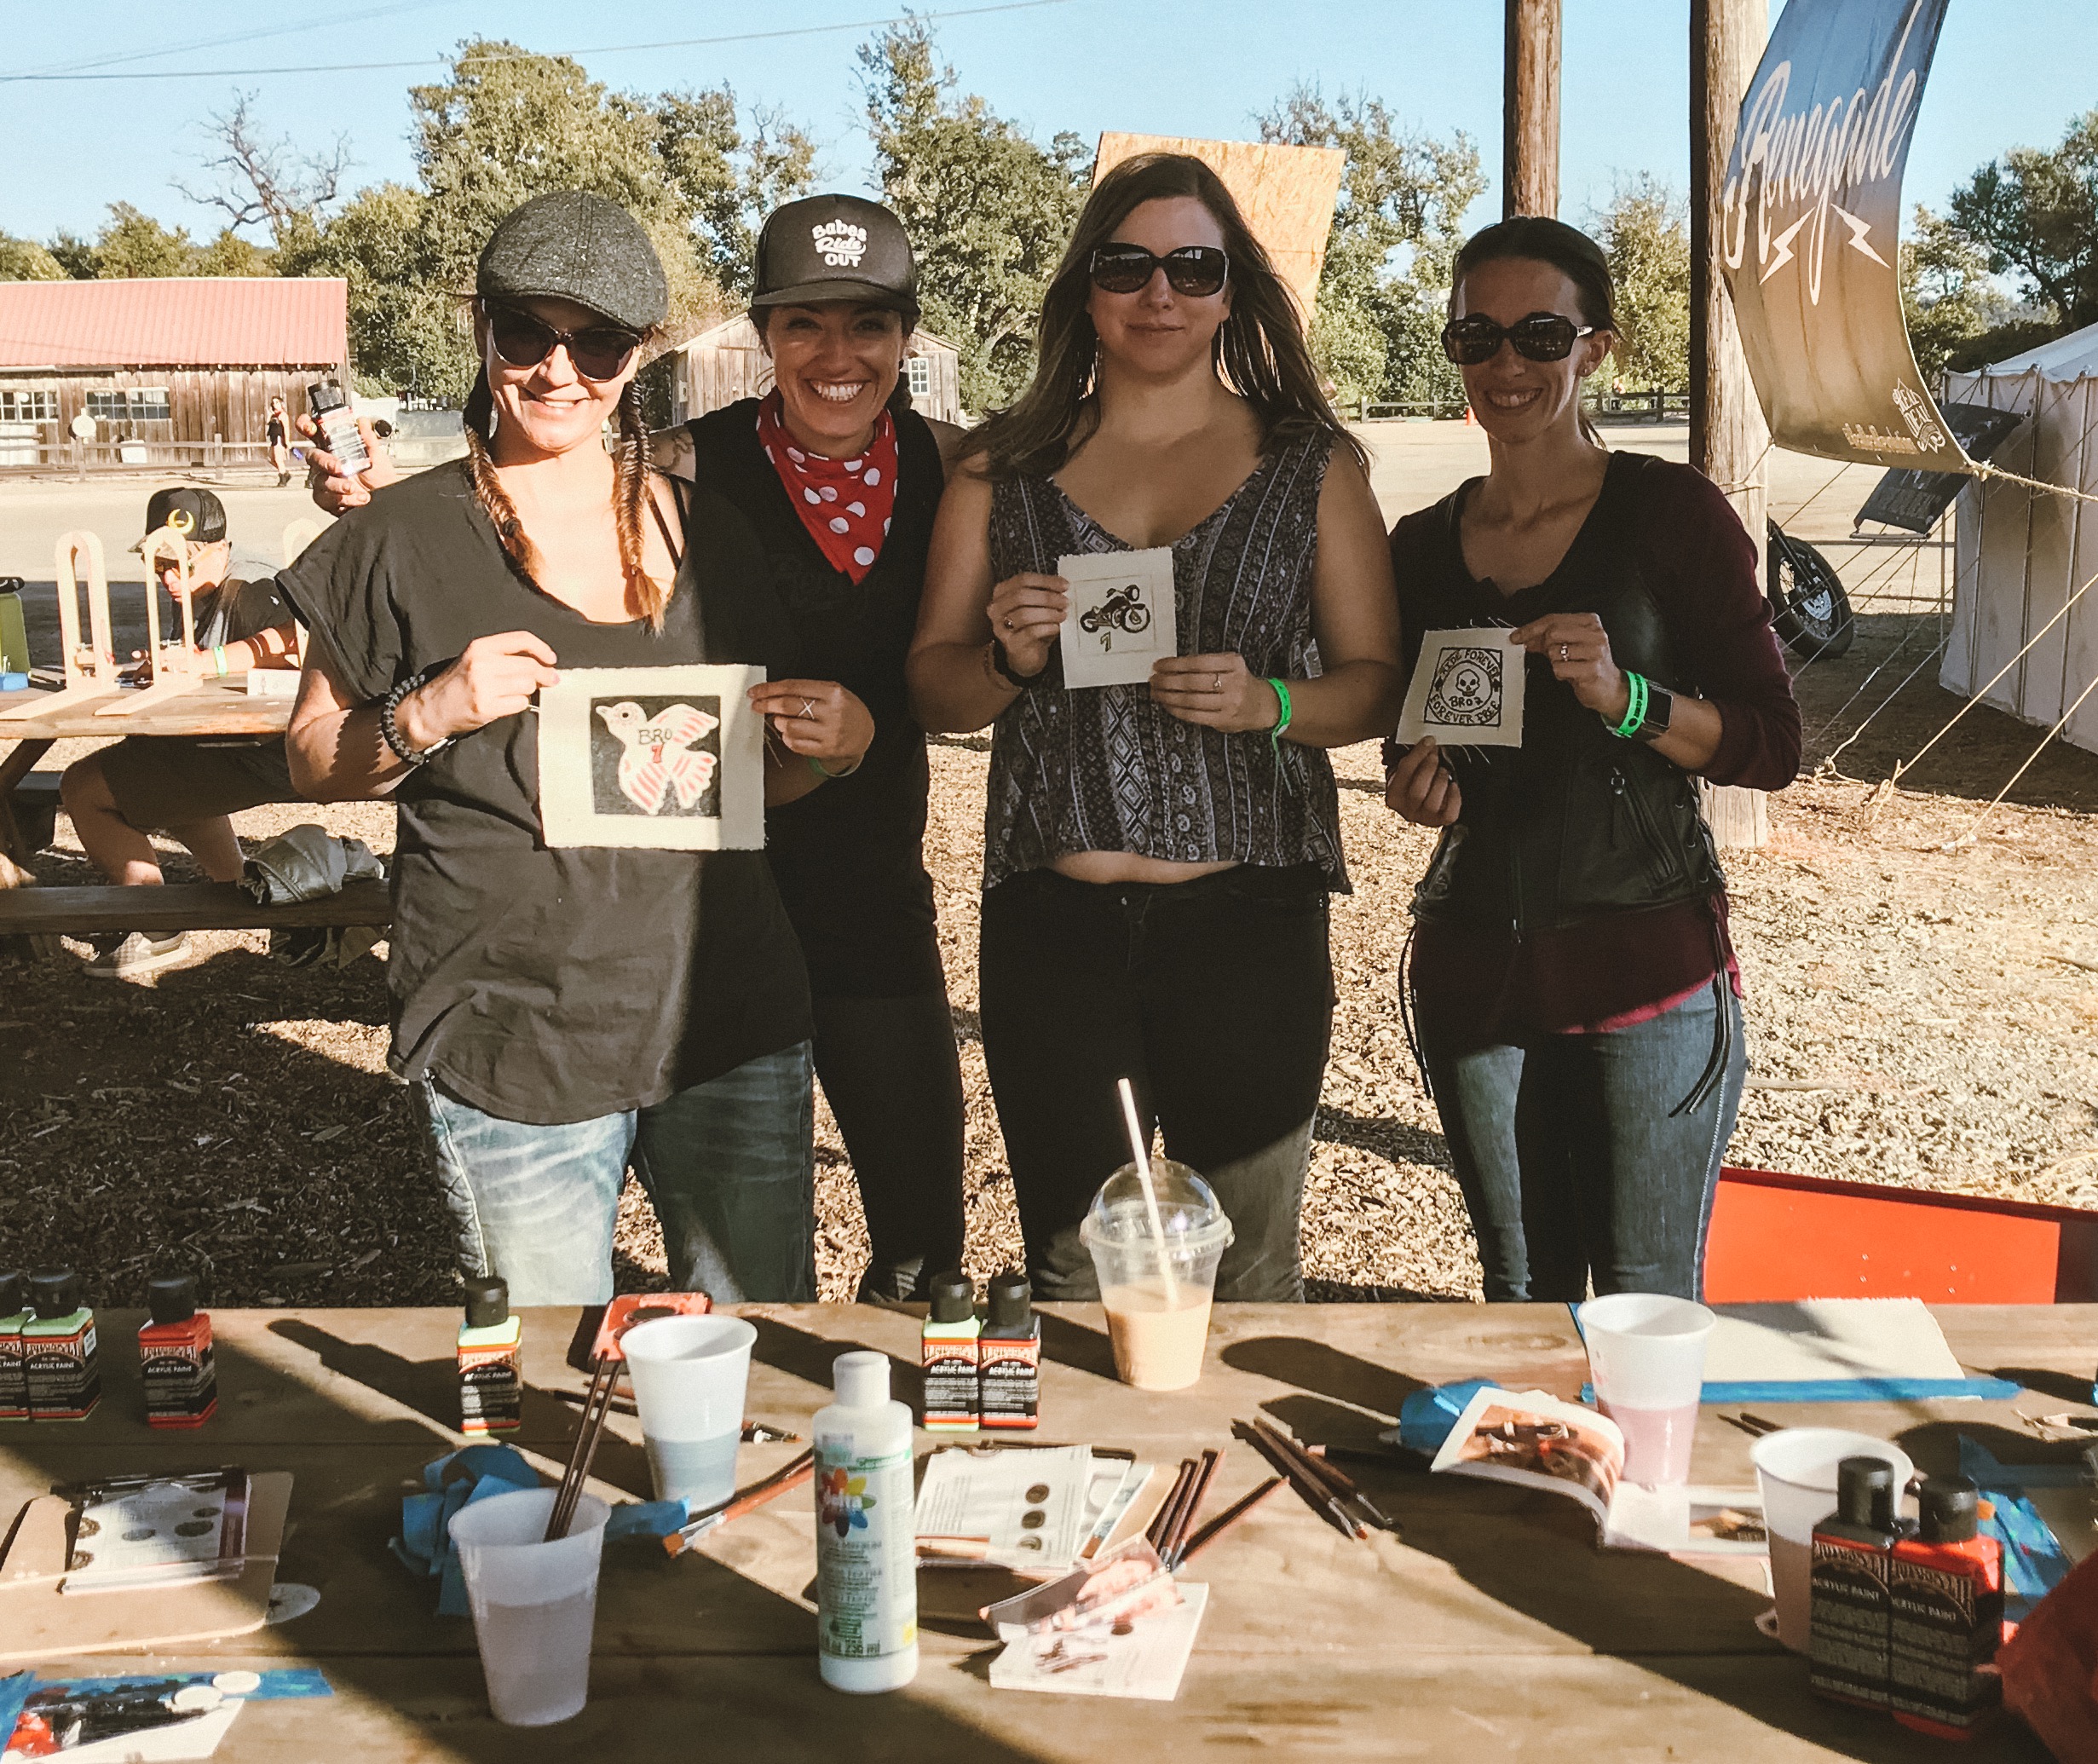
The sun was blistering the second day at Babes Ride Out, but we were grateful to be working in the shade. Most of the ladies went out riding and exploring. After my two-wheeled trek from Colorado to California, I enjoyed a morning of coffee and conversation with some pretty spectacular women. Seriously everyone I spoke to had a pretty unique story to tell. I was excited to be a part of it and I was even more thrilled to spend another afternoon giving Real Deal workshops. After getting my hands wet teaching Enamel Paint, I felt a little more prepared to show this Acrylic Paint Application. Learning to paint a patch with acrylic paint is a far easier task than learning all the science behind Enamel paint. The paint is water-based, which is non-toxic and you utilize a more typical work surface. Although I taught this technique on patches, it will also work on other items, such as jean jackets or trucker hats. I started creating patches because like many turns in my life, someone commissioned me to paint a large back patch and I said yes. I love seeing this wearable form of art on the vests and flannels they end up on.
If you would like to make your own wearable art just follow along! The first thing to get started is to gather the SUPPLY LIST! What do I use? The following are items you will need if you want to make some personalized patches.
PATCH MATERIAL – Any type of raw canvas, denim, or linen will do the trick. An unprimed surface is ideal, so the paint can bond to the fibers.
FABRIC PENCIL – Any color of fabric pencil will work but it is good practice to use something made specifically for fabric so it will wash off.
ACRYLIC PAINT – I use Alpha 6 Corporation Acrylic paint Called AlphaKrylic but any soft-bodied acrylic paint will work.
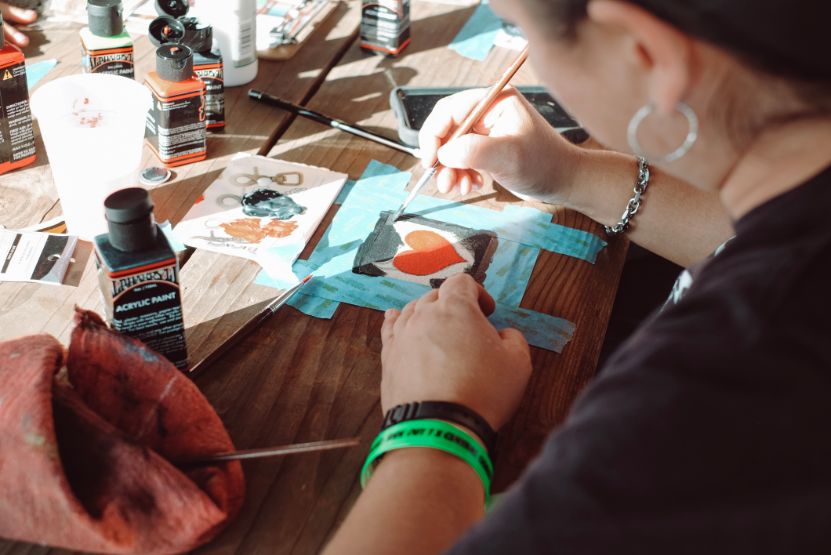
BRUSHES – Taklon Brushes or a medium-firm brush is the type you want to use. The brushes to look for will have a bristle that is orange in color.
PALETTE – You need a surface to mix your paint and old magazines, old picture frame glass, or cookie sheets work great!
FABRIC PAINTING MEDIUM – I use Liquitex Fabric Medium, but there are several options to be found at any craft store.
WATER – A glass of tap water will suffice.
IRON AND PRESSING CLOTH – This will be important in order to make your patch washable.
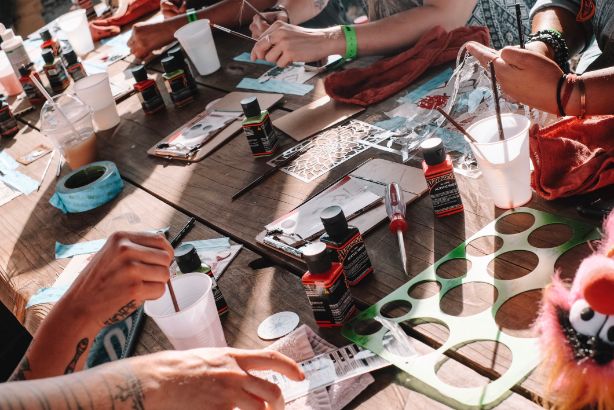
Now we have everything we need to make some magic so let’s get Kraken! Grab your pencil, layout the size and shape of your patch, then simply draw out what you want your patch to be. If you are not the most skilled drawer you can use stencils. Another method you can use is tracing a printed image onto your patch utilizing transfer paper. I definitely use this method if I’m in a time crunch!
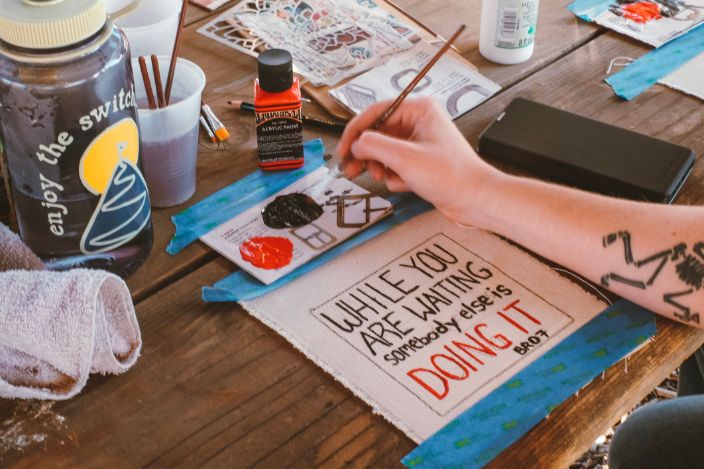
When you are ready to paint using the directions on your fabric medium bottle. Typically, you are going to mix the paint and medium on the palette in a 1:1 Ratio. Once you can no longer see the fabric medium your paint is ready to use so have fun with it!
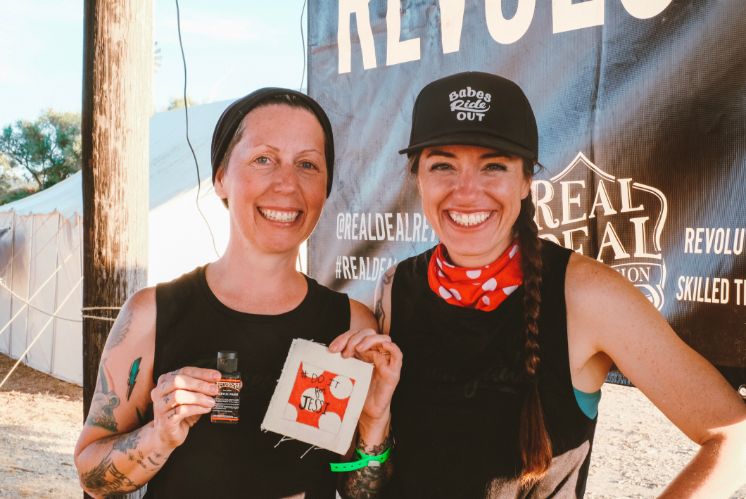
Once your masterpiece is completed set your patch aside where it will not be disrupted and let it dry for roughly 24 hours. In the meantime, wash your brush with some water, soap optional, till all the paint is out of the Ferrule (the metal part) and bristles. It gets expensive replacing brushes so take your time to make sure they are clean. The next day your patch will be ready to do the final step! Place the patch on an ironing board and cover it with a pressing cloth. Iron the patch for a few seconds, or what the fabric medium directs you to do, completing the process to bind the paint. Your patch is now washable! Many people will finish the patch by sewing the edge and applying an adhesive backing.
I hope this “How to” was helpful to get you started. Feel free to contact me on my Instagram handle KaylaInfernoArt or check out my website at InfernoArtStudio.com if you have any questions about the materials or techniques. Cheers!
By Kayla Koeune